
Are you struggling to figure out how to access Windows Live Mail in Outlook, including attachments? Many users face this challenge when they want to convert their Windows Live Mail files into Outlook PST format. In this article, we’ll explore two approaches to tackle this issue: the manual method and a professional solution, DataVare Windows Live Mail to PST Converter.
Manual Method for Accessing Windows Live Mail in Outlook:
- Install MS Outlook and Windows Live Mail on your computer.
- Open Windows Live Mail and navigate to File > Export > Email messages.
- Select MS Exchange and proceed to the next screen.
- In the Export dialog box, press OK.
- Choose the destination folder for your Windows Live Mail files.
- The migration process will commence, and once it’s complete, you’ll see an “Export complete” message.
- Click the Finish button, and your converted Windows Live Mail files will be accessible in MS Outlook.
Challenges with the Manual Method:
- Lengthy and involves multiple steps.
- Not suitable for exporting a large number of files.
- Limited to exporting emails without attachments.
- Risk of data loss.
- Technical complexity can be challenging for non-professional users.
Utilizing a Professional Method to Export Windows Live Mail to PST with Attachments:
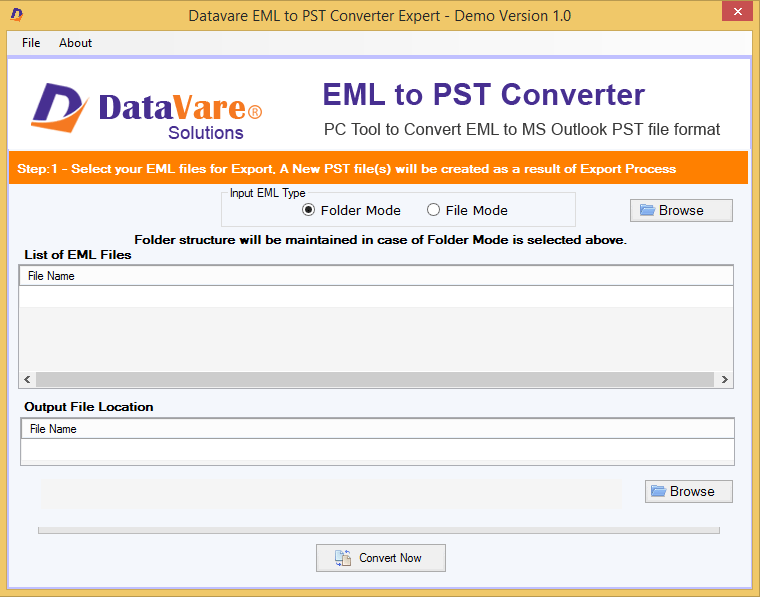
DataVare Windows Live Mail to PST Converter is a professional tool that simplifies the process of exporting Windows Live Mail files to Outlook, including attachments and other details. It offers a batch mode for quick and unlimited file conversion, along with various filters to selectively convert emails to PST.
Key Features of the Professional Method:
- Supports batch conversion of Windows Live Mail files to Outlook PST.
- Preserves attachments and other details.
- Offers filters for selective conversion.
- Compatible with various Outlook editions.
- Easy to use, suitable for all users.
Steps for Stress-Free Conversion with the Professional Tool:
- Download and install Windows Live Mail to Outlook application on your Windows computer.
- Load Windows Live Mail files from their default location or select them using the provided options.
- Choose the folders you want to convert into PST and select the PST output option.
- Define the destination location and click the Convert button to initiate the conversion.
- Once the process is complete, your EML files are successfully converted to PST.
In Conclusion:
This article has presented both a manual and professional method for accessing Windows Live Mail in Outlook. The manual method is suitable for users with technical expertise and a limited number of Windows Live Mail files. However, if you have a large volume of files to convert, we recommend using a professional tool like DataVare Windows Live Mail to PST Converter. You can try the free demo edition, which allows you to convert the first few emails to PST at no cost.
